Jun 102010
 

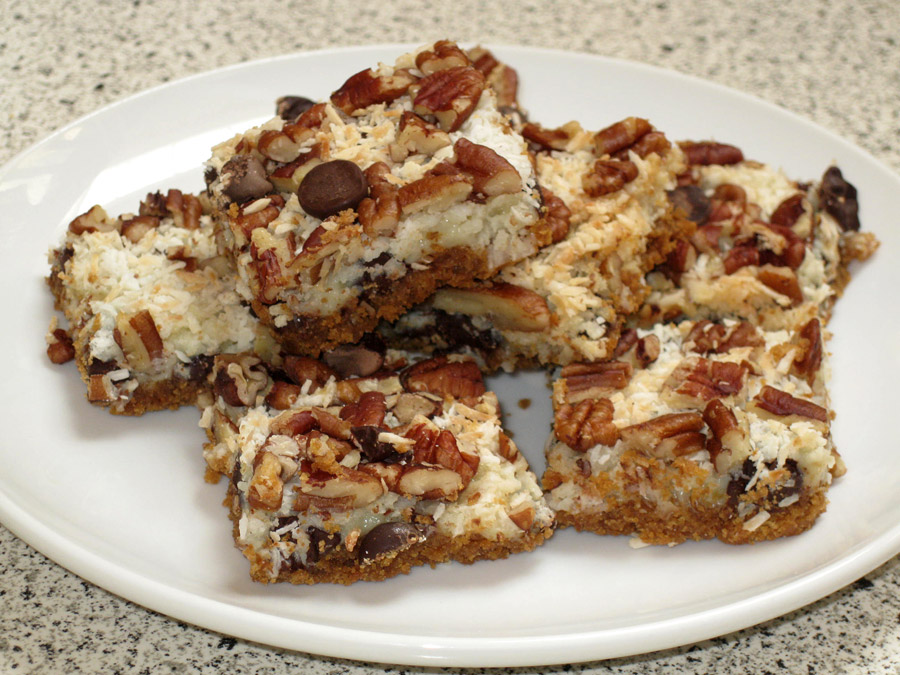
Years and years and YEARS ago, I made these bars. They were so good I vowed never to make them again and locked the recipe away in “the vault”. (I have no will power when is comes to food like this and will eat the whole pan in a heartbeat).

A couple of weeks ago, I decided it was safe to whip up a batch . I was going away for the weekend to visit friends and wanted to take something really good. This recipe is simple, idiot-proof ( a favorite recipe trait of mine) and quick to make. Plus, these bars are always well received. Give them a try next time you need to bake but are stuck for time.

Note: The crust will appear “butter soaked” just turn a blind eye and proceed. I used unsweetened coconut, even though the recipe calls for sweetened. Nobody missed the extra sugar (these babies are super duper sweet). Also, I cut down on the chocolate chips and nuts….probably because I felt so guilty about the butter. No worries…they still rocked.

Magic Cookie Bars

Serving: 24 bars

Ingredients
2 cups (500 mL) graham wafer crumbs
3/4 cup (175 mL) butter, melted
1 can (300 mL) Regular or Low Fat Eagle Brand® sweetened condensed milk
1 1/3 cups (325 mL) chopped pecans (I only used 1 cup)
1 1/3 cups (325 mL) semi-sweet chocolate chips (I only used 1 cup)
1 1/3 cups (325 mL) flaked coconut (I used unsweetened coconut)

Directions
Combine graham crumbs with butter; press evenly onto parchment-lined 13 x 9″ (3.5 L) baking pan.

Pour Eagle Brand evenly over crumb crust.

Sprinkle with pecans, chocolate chips and coconut; press down firmly.

Bake in preheated 350ºF (180ºC) oven* 25-30 minutes or until lightly browned. Cool thoroughly and cut into bars. (Store loosely covered at room temperature.)

Hide from your family and most importantly…from yourself.

Recipe courtesy of the Eagle Brand website

May 112010
 

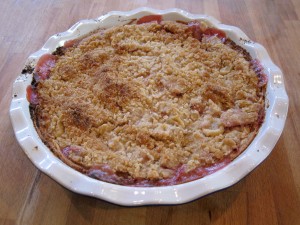
 Ok…so I made two pies as my contribution to the Mother’s Day festivities. I headed into uncharted territory with this one but was keen to use up two packages of frozen rhubarb, so I forged ahead. After a quick online investigation into the handling of frozen rhubarb, I decided to thaw it and lightly squeeze out the excess water.

This pie took no time to whip together and got rave reviews from a skeptical audience (Yes, I saw the looks). Once again, I used Liberte Yogurt (this time Maple flavored) and cut the sugar down to a scant 1 cup. The results were very, very good. The last piece of pie (shown below) never made it to the fridge. I will make this pie again and am on the lookout for more rhubarb. Tis the season.

Rhubarb Strawberry Crumble Pie Recipe

Ingredients

Filling
1 1/4 cups sugar
1/4 cup flour
1 cup plain yogurt or sour cream
3 1/2 cups diced rhubarb
1 1/2 cups of sliced strawberries
10″ unbaked pastry shell (I used tenderflake deep dish)

Topping
1/2 cup brown sugar
1/2 cup flour
1/4 cup cold butter

Directions
Preheat oven to 450 degrees F.

In a large bowl, combine sugar, flour, yogurt, rhubarb and strawberries. Spoon mixture into unbaked pie shell.

In a small bowl, mix together brown sugar and flour. Cut in butter until the mixture is crumbly. Sprinkle on top of pie.

Bake for 15 minutes and then reduce heat to 350 degrees F and continue baking for another 30 minutes.

Note: If you serve this pie hot or warm, the filling it will ooze everywhere. If you serve at room temperature or cold the filling sets nicely and cuts like a dream.

Recipe courtesy of the cookbook Aces (More Recipes from the Best of Bridge), page 183

May 092010
 

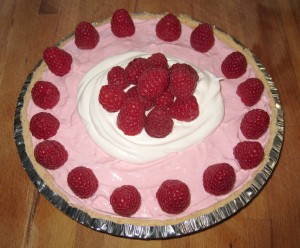
Today, I made this recipe…again. It was a special request from my Mom (Happy Mother’s Day!), so how could I say no. Especially considering you only need 10 minutes and 3 ingredients (all of which I keep on hand in the cupboard for dessert emergencies).

I think my Mom likes this dessert because the light version tastes as good as the regular version. If you are calorie conscious use Light Jello and Light Cool Whip (I don’t recommend using the No Fat version as it effects the density of the pie). If you want to make  “your masterpiece” look fancier, I’d suggest moving the bought pie crust into one of your own pie plates before you start (why not?) and adding some  Cool Whip and fresh berries to the top of the plated slice of pie…tah DAH!

Pay attention when the recipe says to let the mixture cool in the fridge before piling it into the pie crust. If you forget about bowl of filling, you will be serving the pie out of the bowl (it sets pretty firmly). If you are the kind of person that burns things under “speed broil”, I’m talking to you…you know who you are…enough said.

Cool ‘N Easy Pie Recipe

Ingredients
2/3 cup boiling water
1 pkg. JELL-O Brand Strawberry Flavor Gelatin (4-serving size)
Ice cubes
1/2 cup cold water
1 tub (8oz) Cool Whip Topping, thawed
1 store bought pie crust (60z)

Directions

In a large bowl, stir boiling water into dry gelatin mix for 2 minutes until completely dissolved

Add enough ice to cold water to measure 1 cup. Add to gelatin; stir until slightly thickened. Remove any unmelted ice.

Add whipped topping; stir with wire whisk until well blended

Refrigerate 15 to 20 minutes or until mixture is thick enough to mound

Spoon into crust

Refrigerate at least 4 hours until firm. Store leftovers in the fridge.

Note: I’ve used Strawberry and Raspberry Jello but I guess you could use any flavor.

Recipe courtesy of Kraft Foods